Following our recent description of how Genius Printing had created a Reviews Tab on their Facebook page, we had several enquiries asking for detailed instructions on how to do this. So, if you want to create a page
like this one, here's how...
- Firstly you need to add a static HTML application to your business' Facebook page. There are lots that will do the job, but we used this one: http://www.facebook.com/add.php?api_key=190322544333196&pages
Click to Add this to your Facebook page.
- Next you need to change the name of this tab (the default name for this one is "Welcome"). To do this, go to the "Apps" menu option for your Facebook page, and find this app (called "Static HTML: iframe tabs"). Under this, click on "Edit Settings" and then change the Custom Tab Name to "Reviews" and click save.
- Then click "View Page" to see your Facebook page. On the left, you'll now see your new "Reviews" tab as a menu item. Click the "EDIT" link just under this.
- Next you need to add the content for this page. You can have different content for people that "like" your page, or the same content for everyone. (We just did the same content for everyone.) In the top box, enter the HTML, Javascript or other code for the content you wish to appear (could be an image as well).
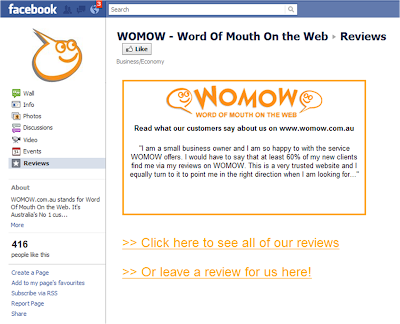
- To add the WOMOW Widget that scrolls through your reviews, you'll need to get your unique code for this from us. You can customise this as you please but the exact code that we entered is shown below:

- Please note that the text in red here should specifically relate to your business listing on WOMOW. We also changed the width and height of the widget to be 500 x 300 (shown in the first red section).
- Once you've done that, just click "Save and View Tab" at the top of the page. (While we were editing, we found it easier to open up the Facebook page in another browser and refresh this until we were happy with it.)
- Good luck!

